3D Elmo Cake Tutorial
3D Elmo Cake
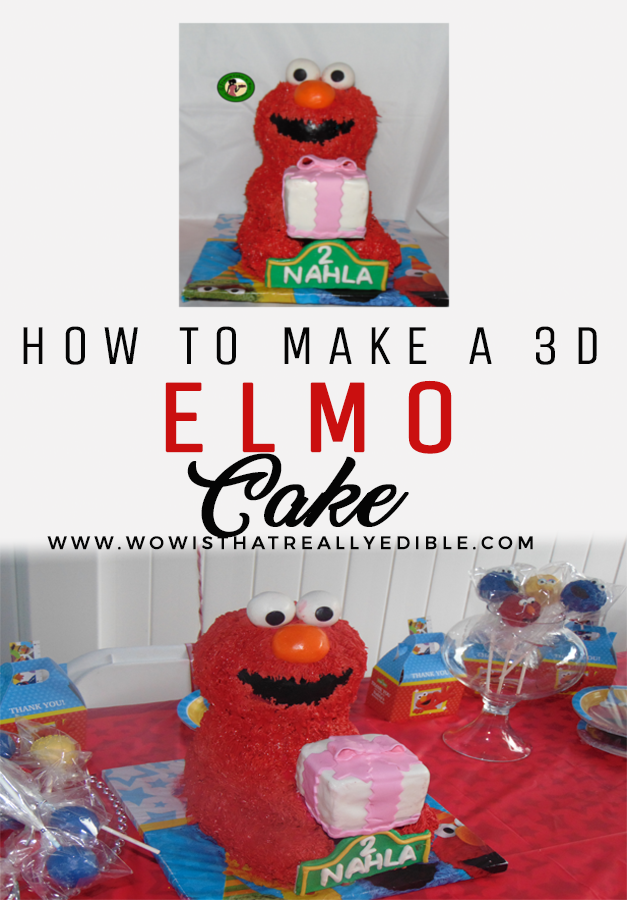
Who doesn’t love Elmo? Elmo has been a favorite for many generations. An Elmo Cake is fun to make and will have the kids (boy and girl) fascinated. My niece Nahla turned two and she loves Elmo. She looks forward to watching Elmo on Sesame Street and on Youtube. Therefore, it was only fitting that I make her an Elmo cake with Sesame Street cake pops. But, not just any cake, a 3D Elmo cake holding a gift box made out of cake.
I had so much fun making this 3D Elmo Cake. The best part is that it was much easier than I expected. I kept working out the details in my head and planned as much as I could. However, as always when the cake is complete, there are things you wish you had done differently. I took a few pictures to share with you how I made this fun cake.
Cake Pops
I followed the instruction on Bakerella’s blog. However, because of time I only made Big Bird, Elmo and Cookie Monster. 
Aren’t these guys cute?
![]()
3D Elmo Cake Tutorial
So let me share with you some details on how I made this cute 3D Elmo Cake with a gift box.
Tools
- 6 inch round Cake Pan
- 8 inch round Cake Pan
- 8-inch square cake pan
- Wilton Wonder Mold
- Fondant (Red, Black, Orange, White, green, yellow)
- Fondant Rolling Pin
- CMC (Tylose Powder)
- Royal Icing (colored red)
- Piping bag
- Wilton grass tip
- 12-inch base (I used MDF wood)
- Screw rods
- Screws
- Washers
The Cake Structure
This cake structure required a little bit of planning. A good cake structure guarantees that your cake will not crumble. It is better to have too much than to not have enough. I had a 12 inch MDF board that I had cut at Home Depot. I asked my helper to place two holes on the board.
- Well, first I traced a 6-inch cake board with a pencil and marked the center of the first hole. Then I measured about an inch and a half for the second hole.
- I cut a piece of foam core board the size of the head (I suggest you do this after you carve Elmo’s head) and place a hole in the center.
- Add a screw and washer above and beneath the board.


The Cake
For the cake, I used my delicious Vanilla Cake recipe for the head and legs and a Red Velvet Cake recipe for the body. These recipes are perfect for carving. They were paired with my Italian Meringue buttercream and cream cheese frosting.
- I baked three (3) 6-inch cakes, one cake with the Wilton Wonder mold and one 8 inch cake for the leg.
- I carved Elmo’s head using a template I made from a picture I printed online. Elmo’s head is not a circle; it’s more like an oval.
- Then I carved the body to give Elmo a curve in the back and a little tummy in the front. Keep checking to make sure the cake is in proportion to the head.
- I carved two legs from the 8-inch cake by following the curve of the cake.
- After I was happy with the body and the head, I split the body into three layers.
- I added the body to my cake base one layer at a time and filled each layer with cream cheese frosting. Then I placed three evenly spaced dowels.
- This was the moment of truth; it was time to finally add the head to the body of the cake.
- I filled each layer of the head and crumbed coat the cake then used the buttercream to blend the head with the body.
- After that, I added a second coat of buttercream to the cake and chilled it so it would be cold enough to wrap in fondant.


The small gift box
- I baked an 8-inch cake and used a square cutter to cut four equal pieces.
- Stack three pieces of the cake and fill with buttercream, I had to cut a piece off the top to make the gift box a good height.
- Crumb coat and chill, then add a second coat of buttercream.
- I cut a piece of foam core board the same size as the cutter and placed a small hole inside.
- I added the foam core board to a small screw rod with screws and washers. Make sure this is secure before you add the cake.
- Once this is secure, add the cake to the board and cover with fondant.
- Add a bow and fondant strips to the cake.


How to make the Fondant Decorations/Cover 3D Elmo cake in Fondant
- For the eyes, I used some white fondant with CMC and weighed it to make sure it was equal amounts. Then rolled it into a ball. I placed a toothpick inside and set it aside to firm up.
- For the nose, I used a small amount of orange fondant and rolled it into a ball. I used the picture I printed as a guide and added two toothpicks.
- I then rolled a small piece of black for the mouth and the eyeballs and used a piping tip to cut out the eyeballs.
- Then I covered the cake with red fondant in pieces. Do not worry if your fondant is not perfect. However, do your best to blend the fondant together as much as possible.
- Next, I added the eyes, the nose, and the mouth. Afterward, I noticed that the mouth was over too far, so I adjusted it.
- I made the hands completely out of fondant and secured it with some toothpicks.
- I secured the hands to the foam core board that was holding the gift box.
- Once the cake was completely covered in fondant I placed it in the refrigerator.
 eyes, the nose, and the mouth. Afterward, I noticed that the mouth was over too far, so I adjusted it.
How to make the make the fur
- I made a batch of royal icing and colored it red. I added some glycerin so that it would crust on the outside, but remain soft on the inside.
- Next, I added the Wilton grass tip to a large piping bag and added the royal icing. Add a small amount at a time so that you can handle the piping.
- I removed the eyes and the nose and covered the mouth with plastic wrap.
- I also placed the plastic wrap around the gift box cake.
- Then it was time to begin piping. I started on the head and went all the way down to the back, then the arms and the legs.
Final Touches
- I added pink fondant to the steel rod that is holding up the gift box.
- Once this was done, I made a Sesame Street sign with Nahla’s name, by added green fondant to foam core board. I cut out the sign free hand and added the yellow around the top and the side.
- Finally, you are done; add the sign in front of Elmo’s feet to hide the steel rod.
I do hope you find this post useful. Please feel free to ask any questions in the comments below and I will be happy to answer. Pin on Pinterest and send us a like on Facebook. Happy caking.


Posts you would enjoy:
How to make a 3D Spiderman Cake