The Ultimate Fondant Guide: Tips for working with Fondant
I am switching things up a bit from buttercream to fondant. Both are great. However, fondant can be intimidating. There are so many things that can go wrong, such as bulging, tearing, sweating, elephant skin, and I can go on and on. Nothing beats the clean look of fondant. However, knowing how to fix any fondant problems/issues that arise gives the confidence you need to use it on cakes. In this ultimate fondant guide, I will share some tips and tricks so that you won’t be afraid of working with fondant. Warning this is a very long post.
My first experience with fondant
When I first started cake decorating, I was only familiar with buttercream cakes. Then one of my sisters asked me to make a fondant covered cake for my nephew, I obliged. How hard can this be? Having never worked with fondant before. I didn’t even know all the problems that could arise. Maybe if I knew, then I wouldn’t have started.
I made the cake and was thrilled I was able to pull it off without a hitch. It has been smooth sailing since then (just kidding). I feel like my pleasant experience with my first fondant cake was the main reason I continued using it. Of course, I have had my share of issues with fondant. The warmer weather is the worst. However, that has never stopped me. Which means you can do it too. This is one of the reasons I created this fondant guide so that you can gain confidence also.
This page may contain affiliate links which mean that I may earn a small commission if you purchase from any links directed from this website. I only recommend things that I use and the classes I have taken. Thank you very much for your ongoing support.
What is covered in the ultimate fondant guide?
Here are the topics covered in the ultimate fondant guide:
- What brand of fondant to use?
- What tools do you need?
- How to make fondant
- Covering a cake with fondant
- Storing fondant
- Can you store your fondant cake in the refrigerator? If so, how?
- Some common fondant problems and how to fix them
What brand of fondant to use?
The brand of fondant you choose will depend on preference. One of the main things to look for is elasticity and stickiness. Some brands are better than others. Sticky fondant is unworkable, and sometimes after adding powdered sugar and tylose powder, it is no better. If this happens, it will not work well on your cake.
How do you know you have found the right fondant? The first thing to do is knead it and see if the fondant becomes pliable. That is it’s not sticky or breaks apart after you knead it. I suggest trying a few fondant brands and see what works best. I have had great results with Satin Ice fondant, Wilton fondant, and homemade marshmallow fondant. If it comes down to taste, then marshmallow fondant is your best choice.

What tools do you need?
When working with fondant, there are only a few tools I suggest to start (1) rolling pin, (2) The Mat, (3) fondant smoothers (4) Xacto knife and (5) sugar smoother.
- The first tool I recommend is a large rolling pin with guides rings. I like this Wilton rolling pin in a 9-inch and 20-inch. However, you may use any rolling pin. No guides rings, I suggest using the FREE wooden paint stick from Home Depot, Lowes or local home improvement store, they are the perfect width.
- The second tool I recommend is the Mat from Sweetwise. It’s a silicone mat; I love using it because it prevents elephant skin, no cornstarch is needed, and it has guides how much fondant is required and how wide to roll fondant. However, any silicone mat will do since it seems as if the Sweetwise Mat is currently unavailable.
- The third tool is a fondant smoother. You will need two. Fondant smoothers are used to shape and smooth fondant.
- The fourth tool is a Xacto knife or a scalpel. The blades on these knives are sharp and help you get a clean cut. I like using the Xacto knife because the blade is long enough to cut thicker fondant.
- The final tool I recommend is sugar smoother. Sugar smoothers are great to help smooth out fondant. The smaller sugar smoother can get into place the bulky fondant smoother cannot reach. I suggest the ones from Innovative Sugarworks.
How to make fondant
Making fondant saves a lot of money. It is very easy to make and is the perfect choice to accommodate those with allergies. I have a step by step guide here for marshmallow fondant. I recently had to make a soy-free fondant while a bit difficult I used the marshmallow fondant recipe and used canola oil instead. If the marshmallow fondant is not your speed, try buttercream fondant. Buttercream fondant is harder to work with, but an excellent alternative for those who don’t care for the traditional fondant.
I think colored fondant such as blue or red is better if you buy them, it’s hard to get the right color. For brown fondant, I use my chocolate fondant recipe, and I have never had an issue. See barrel cake I made below.

How to cover a cake with fondant
There are two ways to cover a cake with fondant; one way is paneling and the other a more traditional approach adding the fondant all at once with a rolling pin or a mat. Both methods produce a sharp edge and come down to preference. The most important thing to remember when working with fondant is to make sure your buttercream or ganache underneath is super smooth.
When you are using the panel method, the fondant is added in pieces then the seams are smoothed out. Some cakes require paneling because they are too big to cover all at once an example of that is a double barrel cake or square cakes. The only problem with this method is you have to work a bit longer to blend the seams. The sugar smoother is the perfect tool for the job.
The second method is the traditional way of covering a cake with fondant all at once. I like this method the most because the fondant is on the cake all at once. Of course, the fondant can rip. However, it can be fixed; everything is fixable. This tutorial shows you how to cover a cake with fondant.
How to store fondant
Fondant should be stored wrapped in plastic in a Ziploc bag or an airtight container for up to two months. What do you do with fondant that has been sitting for a while and has become hard? Use them to make fondant molds. If you want to use it again microwave in 10-second burst and knead. You may have to remove the small pieces of fondant to get a smooth fondant.
Can you store your cake in the refrigerator? If so, how?
Yes, you can put your fondant cakes in the refrigerator. Cover the cake with plastic (make sure the plastic is loose around the cake) and place the cake inside a cake box. Alternatively, you can wrap the cake box with the fondant cake inside to prevent air from getting inside the box. Another thing that I have done is to turn the refrigerator down but not too low; this helps reduce the amount of condensation.
When the cake comes out of the refrigerator, leave the cake inside the box until it comes to room temperature before opening the box. Otherwise, you will have a lot of condensation on your fondant. Of course, if you need to add something quickly, that’s not a problem add and keep the box closed.
Common fondant problems and how to fix them
I saved the best for last. The most important thing when working with fondant is knowing how to fix any problem that arises. Some of the most common issues can lead to disasters. These are a few issues that arise when working with fondant and how to avoid them:
-
Fondant air bubbles and bulge
Air bubbles occur because air is trapped under the fondant. When smoothing out the fondant, smooth from the top down. This minimizes air bubbles. However, if there are air bubbles, use a pin for popping the bubble. I suggest popping the bubble from the side and use the fondant smoother to smooth it out, releasing the air. If the small air bubble is not taken care of, it will become a gigantic bubble.
On the other hand, bulging occurs when air is trapped inside the cake. This happens a lot when a filling is added inside the cake. To avoid a bulging cake, release the pressure from the middle of the cake using a dowel. You can cover it back up with a little buttercream. Also, allow your cake to settle before adding fondant.
-
My fondant is tearing and cracking
Fondant tears and cracks when it is too dry. Too much cornstarch is the culprit. To solve this add shortening a little at a time until it is pliable.
-
Sweaty fondant
Sweaty fondant is as a result of condensation. It is essential to keep the room cool when working with fondant. In the warmer weather, I have a fan and the air condition running when working with fondant. So how to fix this? Let it sit at room temperature in a cool room the condensation will dissipate after a while.
A great way to know how long it will take to get to room temperature is to test it with an egg. Take the egg out of the refrigerator and let it sit at room temperature and time how long it takes for the condensation to disappear, and that’s how long you will need.
-
Sticky or hard fondant
Sticky fondant is the worst type of fondant to work with. To fix it, add some shortening to your hand and the workspace, then add powdered sugar and some tylose powder. If this doesn’t work, then the fondant is unusable.
When fondant gets hard, it can be brought back to life by microwaving in 10-second bursts.
Wow, I feel like that was a marathon… Need more fondant tips? See three tips to harden fondant and get the free resource below. If you love this post, don’t forget to share the love.
Related Posts
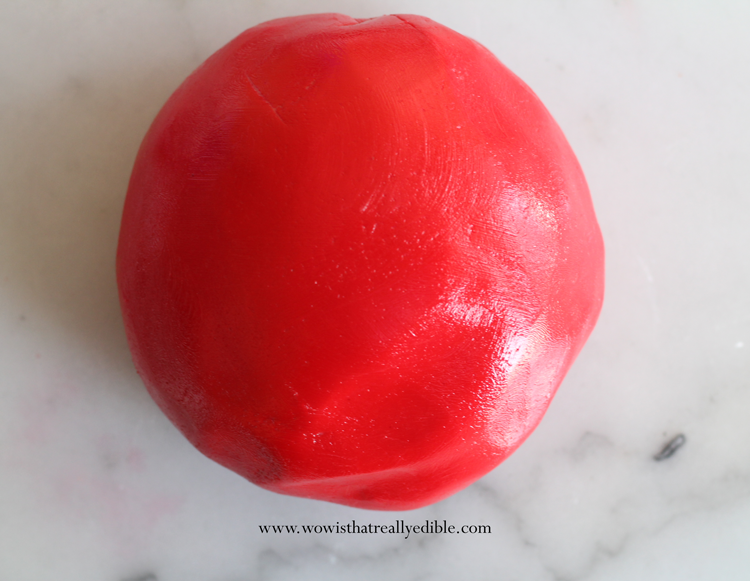
How to Make Red Fondant
There are certain fondant colors that are tricky and a bit harder to achieve. Red
January 22, 2021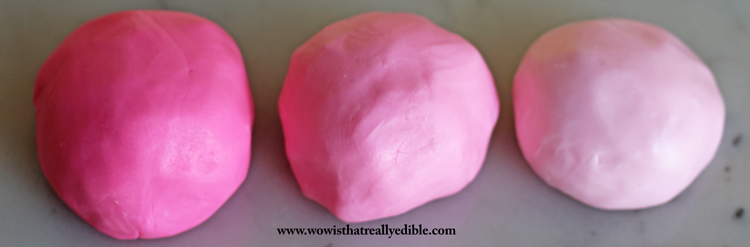
The Best Way to Color Fondant + Tips
I have received so many questions lately about working with fondant. So, this week I
February 21, 2020