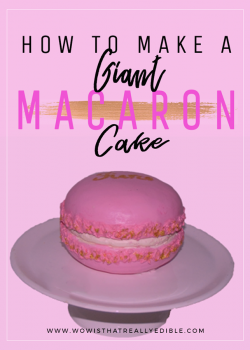
How to make a Giant Macaron Cake
How to make a Giant Macaron Cake
 One of my good friends/cake tester TM’s birthday is today. Last week, MG and I were trying to figure out what to do to celebrate her birthday. We decided on a giant macaron cake for her birthday (not to be confused with macaroon). I was very happy to do so because it was easy and I was in the middle of making an Elmo cake (upcoming post) for my niece.
MG, TM and I are obsessed with macarons. Actually, it is our nemesis. This sweet treat is very finicky and we have had numerous failed attempts making it.  As a matter of fact, we spent an afternoon trying to make a perfect macaron. Making macaron is a very humbling experience. It can cause you a lot of grief and a few gray hairs. So… it’s only right that we make this giant macaron cake for her. This cake is a combination of our triumph and failures in trying to make macaron.
We might never be able to perfect the macaron process, but we can always make a cake.
This post, however, is not about how to solve your macaron problems such as cracked shells, under cooked/over cooked shells, no feet (the feet are the ruffles on the edges) or hollow shells.
This I promise is much easier. Let’s talk cake.
ITEMS YOU WILL NEED
- Two 6 inch cakes (we used 6 x 2 pans)
- 1lb Fondant (we colored ours pink)
- Two (2) cups buttercream
- Two piping bags
- One 6 inch cake board
- A 6 inch or 8-inch cake drum to be fancy
STEP BY STEP
- Bake your two cakes from your favorite cake recipe.
- When the cakes are baked and cooled remove the caramelization from top of the cakes. Then remove the crust from the bottom and around the edges.
- Level the cakes but leave the dome on the top of one cake.

- Crumb coat and chill.
- While is the cake is being chilled roll out your fondant to about a 1/8 of an inch.
- Remove the cakes from the refrigerator and add a second coat of frosting and chill
- Once it’s chilled, add the fondant to both cakes and then turn them upside down to trim.

Assembling the cake
- Place the cake on the flat top on the bottom and use a piping bag to fill the center with frosting. Be careful; do not to add too much filling.
- Then, place the second cake on top of the layer of filling and press gently. Squeeze the filling onto the sides to fill in the gaps. If you do not have enough filling, just use your piping bag to add a ring around. Remember you can always remove the excess.
Now it is time to add the feet.
- Color a half a cup of frosting to match the color of the fondant.
- Then, fill a small piping bag with the frosting and pipe a border around the top and the bottom cake layer. You may also use a small offset spatula to achieve the same result.
- Use a toothpick or two to make swirls that look like feet.


That’s it you are done. Let’s eat cake.

Top View
 Let us know if you tried it. ENJOY!
T | 18th Jul 17
That’s something I would like to try with my daughter
cake | 18th Jul 17
T,
It would be an amazing project to do with her. I am sure she would love it. Plus it is very easy.