How to make a tiered cake
Whether it’s for a birthday, graduation or a wedding, at some point you will get asked to make a tiered cake and of course, you are shouting ‘yeah me.’ Then it clicks, oh my goodness I am going to be responsible for someone’s cake standing in a straight line and in one piece. Before you get too excited, there are a few things you need to know to have a successful well-executed tier cake. Because quite frankly the other side of this means you may end up with a cake that cracks, leans and worst of all crumbles. If you have not had the pleasure of a leaning tower of Pisa you have much to learn my friend (I’ve had a few of those).
Reasons you need to build a tiered cake the right way
Tiered cakes have the most disasters during delivery (see my 5 secrets for safe cake delivery). But, a lot of accidents occur at the venue as well. My worse nightmare would be if one of my cakes would crumble. This is up there with buttercream falling off the cake (if this happens please don’t tell me).
I have had the pleasure of seeing many cakes at birthday parties. But the worst I have seen is a cake with no dowels, filling or cake board underneath the first tier. Forgive me while I pull my mouth off the ground. I could not believe my eyes. Thank goodness it didn’t crumble, but sometimes you are not so lucky if you know what I mean.
Ok, you may think I’m making too much of a big deal. But, if you don’t believe me check out cake wreaks. Because of this I always overbuild so that the cake will do not come down. Well, what do you mean? Take every step possible to make sure the cake stays intact. Some cakes require steel rods and some just a simple use of dowels have been good enough.
Today I am going to show you how to dowel a tiered cake. It is simple, but it prevents a lot of headaches. This is the first part of the wedding cake series. See the wedding cake series on how to decorate a wedding cake: part 1: how to sketch a wedding cake, part 2: how to make an easy fondant bow and part 3: How to make edible lace.
This page may contain affiliate links which means that I may earn a small commission if you make a purchase from any links directed from this website. I only recommend things that I use and the classes I have taken. Thank you very much for your ongoing support.
Tips: how to keep a tiered cake from crumbling
Before we get into the step-by-step tutorial, here are a few tips to keep in mind when delivering and building the cake.
- Keep the cake in the refrigerator until it’s time for pickup or delivery. A cold cake will remain intact. Remember it does take some time to come to room temperature so let your family member or customers know this.
- Use a firm cake recipe. This is quite controversial, but sometimes a very moist cake might not hold up so great. With that said if it is frosted and dowelled properly, it should not crumble.
- Dowel the cake. Dowels are essential because the cake sits on the dowels, therefore, preventing the cake from crumbling underneath.
- Use ganache (see the ultimate ganache guide for recipes here), candy melts or royal icing to keep your top tier cake from sliding. You are going to love me for this.
Now that we have that out of the way, let’s get to doweling, shall we? To begin with, there are a few items I recommend and I use all the time.
Materials:
- Cake two sizes I am using an 8-inch cake and a 6-inch cake (for recipe try out my lemon blackberry cake or my delicious lavender cake)
- Cake drum
- Dowels: bubble tea straws, plastic dowels or wooden dowels
- Cake board (6-inch or 8-inch)
- Offset/angled Spatula or cake lifter
Why are dowels used in (tiered) cakes?
As I mentioned above dowels are used to prevent the cake underneath from crumbling. The cake sits on the dowels and the dowels rest on the cake drum or cake board underneath.
How many dowels do I need?
To determine how many dowels you need to divide the diameter of the cake by 2. That means if you are using an 8-inch cake you need four (4) dowels, a 16-inch cake will need eight (8) dowels. See the chart below for reference.
Leave the center of the board or cake for the center dowel if you are using one.
| Cake Size | # of Dowels |
| 6-inch | 3 |
| 8-inch | 4 |
| 10-inch | 5 |
| 12-inch | 6 |
| 14-inch | 7 |
| 16-inch | 8 |
What dowels should you use for a tiered cake? Bubble tea straws, plastic or wooden dowels
There are so many different dowel options to choose from and sometimes it can get confusing. When I first started decorating I primarily used wooden dowels. There is nothing wrong with using them, but they are a bit difficult to cut and I did not have any special tools. I believe that using them is a matter of preference. Today I use the bubble tea straws, not the regular plastic straws (those are not strong enough). Bubble tea straws are thicker and I find that they are perfect for doweling cakes. I have not had any issues using them.
However, for larger tiered cakes i.e. Any cake that is above 10-inches, I use the large plastic dowels from Wilton. I used them with craved cakes as well, especially with pocketbook cakes that have a large serving amount.
Steps for doweling a tiered cake
Step 1: Mark the area for your dowel
Mark the area for the dowels using a cake board that is one size smaller than the cake. For example, use a 6-inch cake board to mark an 8-inch cake.

Step 2: Position the board
Center the cake board and use a toothpick to mark around the cake board.

Then remove the cake board.

Step 3: Insert the dowels
Insert the first dowel about a 1/2 to 1-inch inside the circle that you created. Make sure to push each dowel straight down.
Then place the second dowel across from the first dowel.

Step 4: Cutting the dowels
There are two ways to do this. The first method, place one dowel in the cake and mark with an edible marker, then cut all the dowels the same size.
The second method, place the dowels into the cake, then mark each dowel with an edible food marker. Mark the spot on the dowel where it reaches the top of the cake. Then use a scissor to cut it. This is easy if you are using a bubble tea straw. Well, wooden dowels will need a knife or a cutter. Push the dowels down inside the cake using another dowel.
However, sometimes I am a bit lazy, so I use the scissors to mark the area, pull it up then cut it. If this is not done correctly your cake will look uneven or like its leaning.

Step 5: Add your tiers
Before you add your tiers, add some ganache, candy melts or royal icing over the dowels. Then, place the second tier on the cake. If you are using candy melt, you will have to move quickly because it will become hard as soon as it hits the cold cake.
Use an offset spatula or a cake lifter to add your top tier. Meanwhile, you can hold the back of the cake and remove the spatula once the cake is in position. If the cake is cold, you can move the cake around.

Follow the same steps above for additional tiers.
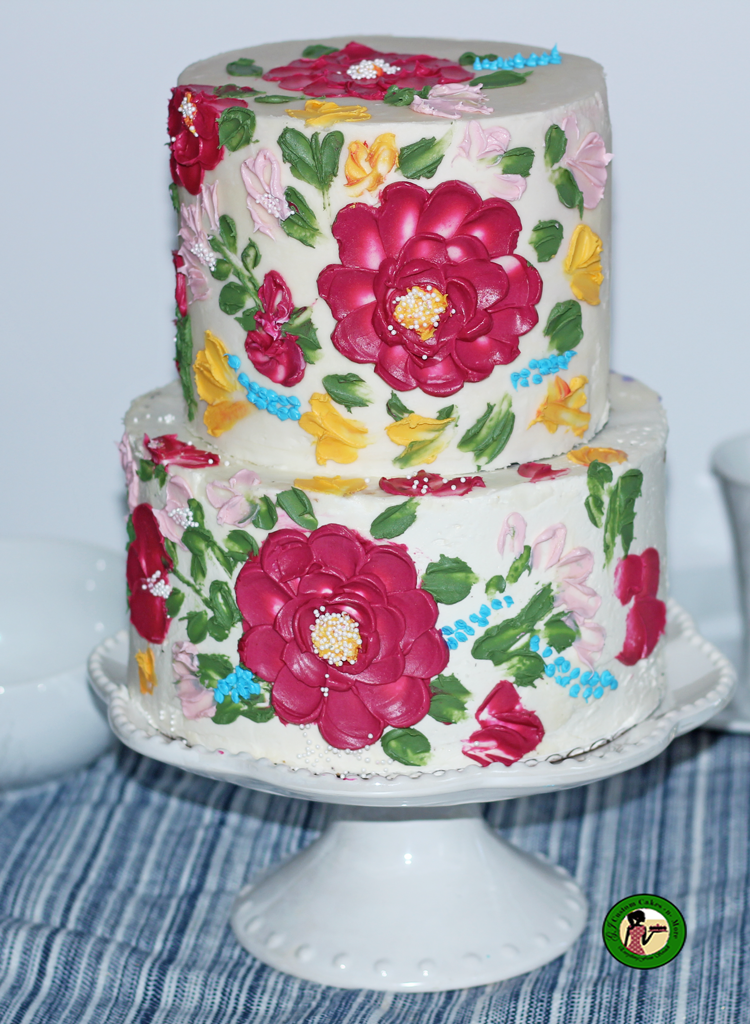
The final cake will look like this. Ready for decorating. I used this to do some painting with buttercream.

The final result.
Did you find this tutorial helpful? Leave a comment below. Don’t forget to share the love, pin for later. Until next time happy caking.

Related Posts
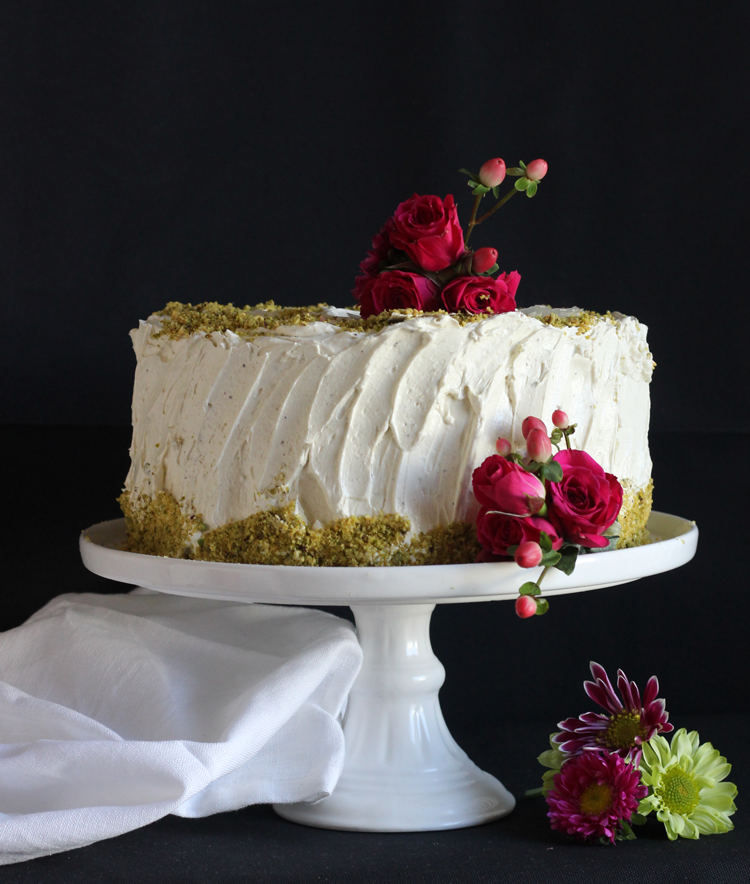
The Best Pistachio Cake from Scratch with Pistachio Buttercream
Do you like pistachio ice cream? I do, it’s one of my favorite flavors. That’s
April 2, 2021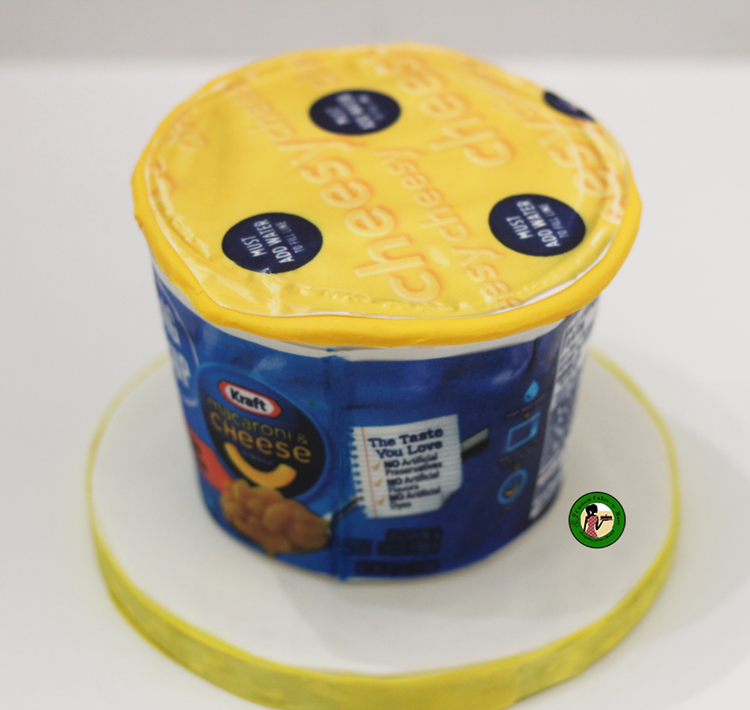
How to Make a Macaroni and Cheese Cake
This week I am switching things up a bit. Today I have a tutorial on
January 24, 2020