How to Make Marshmallow Fondant
As promised, part II of the fondant series. In part I, I showed you how to make rolled buttercream fondant using two different recipes. Then, how to make cupcake toppers, ballerina shoes, and tiny handbags using rolled buttercream fondant. This week’s post is all about marshmallow fondant. How to make and marshmallow fondant, and tips for working with marshmallow fondant.
This page may contain affiliate links which means that I may earn a small commission if you purchase from any links directed from this website. I only recommend things that I use and the classes I have taken. Wowisthatreallyedible is a participant in the Amazon Services Associate Program. As an affiliate of Amazon, we place custom links in blog posts (such as this one). Thank you very much for your ongoing support.
When making homemade fondant the possibilities are endless. It is easy to make and can be used right away. Traditional marshmallow fondant is sticky, therefore, I updated the recipe to include tylose powder, this prevents the stickiness and it is now perfect to roll out. Glycerin can be added to make it more pliable, but it is not necessary. Most importantly, the recipe does not require gelatin, it’s already included in the marshmallow.
Marshmallow fondant is, of course, dairy-free (remember to use shortening for your hands), which is perfect for those who suffer from a dairy allergy. Warning… Making marshmallow fondant is a sticky, messy business. You will also need to use some elbow grease. Are you ready to learn how to make fondant and save some money doing so? Let’s go.
Recipe for Marshmallow Fondant
The recipe makes about four pounds of fondant, which is enough to cover two 8-inch round cakes. Want to know how fondant you will need to cover your cake? Check out this chart from Wilton. 
16 ounces mini marshmallows (I like mini marshmallows because they are easier to melt)
1 teaspoon vanilla
2 lbs. powdered sugar (confectioners’ sugar)
¼ cup shortening
¼ cup of water
2 tbsp glycerin (optional)
1 tsp tylose powder also called CMC powder
Directions for making Marshmallow Fondant
- Spray a microwavable bowl with cooking spray. Then add the mini marshmallows, this prevents them from sticking to the bowl. This step is optional, however, it makes it easier to scrape out of the bowl.

- Melt the marshmallows for 30 seconds at a time until the marshmallows are fully melted.
- Slowly add the water and vanilla to the melted marshmallows. If you desire to color your fondant, now is a good time to add edible gel colors. It is much easier to do it this way. Otherwise, you can color it later on.
- Mix the melted marshmallows, water, and vanilla until it is smooth. Make sure you work out all the lumps.
- Then add powdered sugar one cup at a time, but reserve a cup. A word of caution do not dump the entire batch of powdered sugar. It will take forever to knead. At this point, the fondant will be very sticky. Just keep adding powdered sugar and continue to knead.
- Thoroughly rub your hands with butter or shortening, then add the remaining cup of powdered sugar to a board, and kneading until the fondant is smooth and pliable. This should not take long at all but it depends on the amount of fondant you are making. This is where you will need some elbow grease.
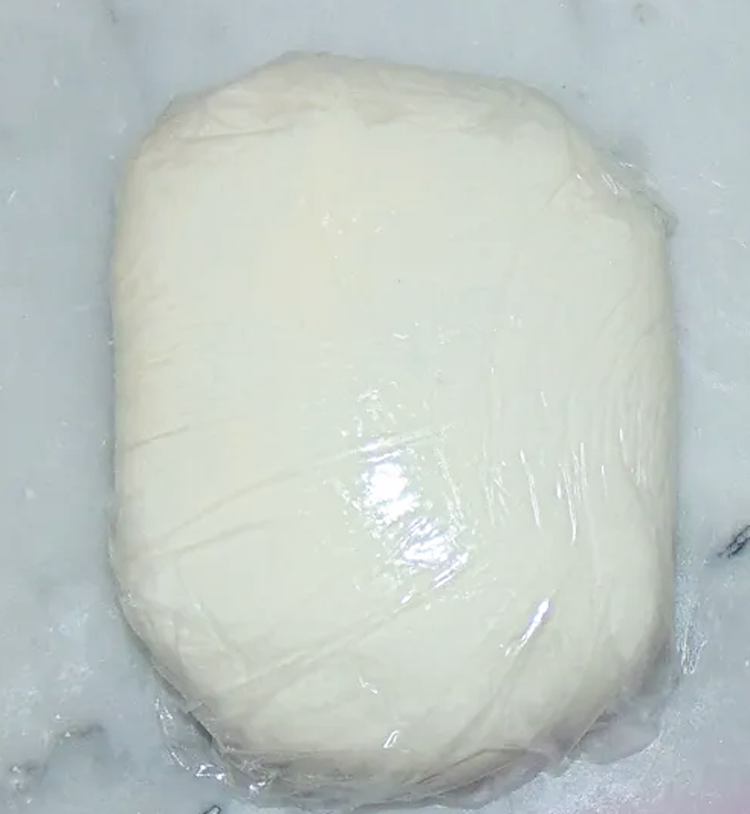
- Roll the fondant into a ball. Before covering the fondant in plastic wrap add some shortening to the plastic wrap. It is more like slathering the plastic with the shortening. Make sure you get all the area that’s going to touch the fondant.
- Finally, wrap the fondant with the plastic. Then place the fondant in a ziplock bag and store in the refrigerator.


Coloring Marshmallow Fondant
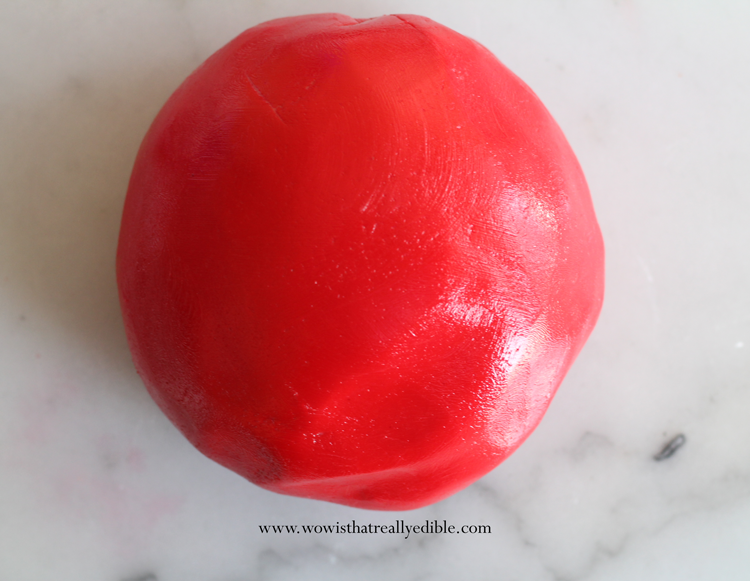
It is best to color marshmallow fondant at the beginning stage because it is much easier. While coloring afterward is not impossible, it took a few minutes to knead in the color. To put this in perspective it is about the same amount of time to color any other fondant (see more tips and tricks to color fondant). As always red, black, brown, and blue are harder to achieve and it is probably best to use premade fondant to mix colors. I was able to color my fondant pink with no problem. The most important thing is to have fun. For more fondant tips and tricks see the ultimate fondant guide.
Covering the cake with Fondant
- Covering the cake with marshmallow fondant was a much better experience than with the rolled buttercream fondant. I did not have to use lots of powdered sugar or hold it carefully to cover the cake.
- It was much easier and more pliable. While I have not tested in heat or moisture marshmallow fondant is great for covering cakes.
- To test out the fondant I used it to make a baby shower cake.

My thoughts on Marshmallow Fondant
- I LOVE IT… It was very easy to work with and it very pliable. When compared to rolled buttercream fondant, marshmallow fondant is a much better option.
- After the fondant was stored in the refrigerator it became very firm, however, it did not take a long time to come together.
- Store marshmallow fondant in the refrigerator for up to two months.
- I was able to color with no problem at all.
- Seriously I did not notice any difference from the fondant I normally use.
- The best part, it is much cheaper to make marshmallow fondant, which comes out to about $1 per pound. On the other hand, store-bought fondant can cost between $5 and $6 per pound or my favorite Satin Ice fondant can cost between $4.70 to $7 per pound. Such a huge difference in price right?
What about you? What fondant do you use?
Don’t forget to share and pin for later. As always happy caking.

Marshmallow Fondant Recipe
Ingredients
Ingredients
- 16 ounces mini marshmallows I like mini marshmallows because they melt faster
- ¼ cup of water
- 1 teaspoon vanilla
- 2 lbs. powdered sugar confectioners’ sugar
- ¼ cup shortening
- ¼ cup of water
- 2 tbsp glycerin optional
- 1 tsp tylose powder also called CMC powder
Instructions
- Directions
- Spray a microwavable bowl with cooking spray. Then add the mini marshmallows, this prevents it from sticking to the bowl. This step is optional, however, it makes it easier to scrape out of the bowl.
- Melt the marshmallows in 30-second intervals until the marshmallows are fully melted.
- Slowly add the water and vanilla to the melted marshmallows. If you desire to color your fondant, now is a good time to add edible gel colors. It is much easier to do it this way. Otherwise, you can color it later on.
- Mix the melted marshmallows, water, and vanilla until it is smooth. Make sure you work out all the lumps.
- Then, add powdered sugar mixed with tylose powder one cup at a time, but reserve a cup. A word of caution, do not dump the entire batch of powdered sugar. It will take forever to knead. At this point, the fondant will be very sticky. Just keep adding powdered sugar and continue to knead.
- Thoroughly rub your hands with butter or shortening, then add the remaining cup of powdered sugar to a board, and kneading until the fondant is smooth and pliable. This should not take long at all but it depends on the amount of fondant you are making. This is where you will need some elbow grease.
- Finally, wrap the fondant with the plastic. Then place the fondant in a ziplock bag and store in the refrigerator.
Related Posts
How to Make Red Fondant
There are certain fondant colors that are tricky and a bit harder to achieve. Red
January 22, 2021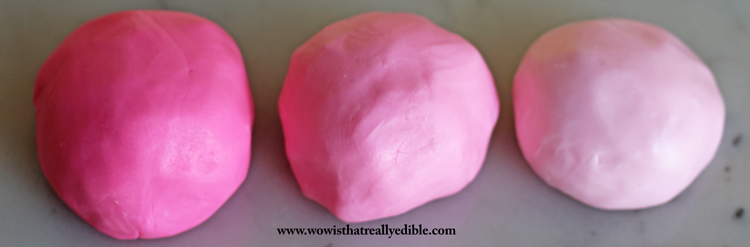
The Best Way to Color Fondant + Tips
I have received so many questions lately about working with fondant. So, this week I
February 21, 2020
How to make Unicorn Cupcakes Easy Tutorial - Wow! Is that really edible? Custom Cakes+ Cake Decorating Tutorials | 13th Apr 18
[…] (find Marshmallow fondant recipe here) with tylose […]
How to cover a Cake with Fondant+ Tips to get a smooth fondant - Wow! Is that really edible? Custom Cakes+ Cake Decorating Tutorials | 25th May 18
[…] (Store-bought or make your own see recipes here marshmallow fondant or Rolled buttercream […]