How to Make a Wedding Cake Part II: How to Make Edible Cake Lace
I am finally getting a chance to work on my wedding cake series. I have been knee-deep in projects for my buttercream e-book and could not pull myself away. However, I am pretty close to being done so let’s get to business, shall we? In part II of how to make a wedding cake, we are going to make the decorations t go on the cake. I am going to show you how to make edible lace and an easy fondant bow.
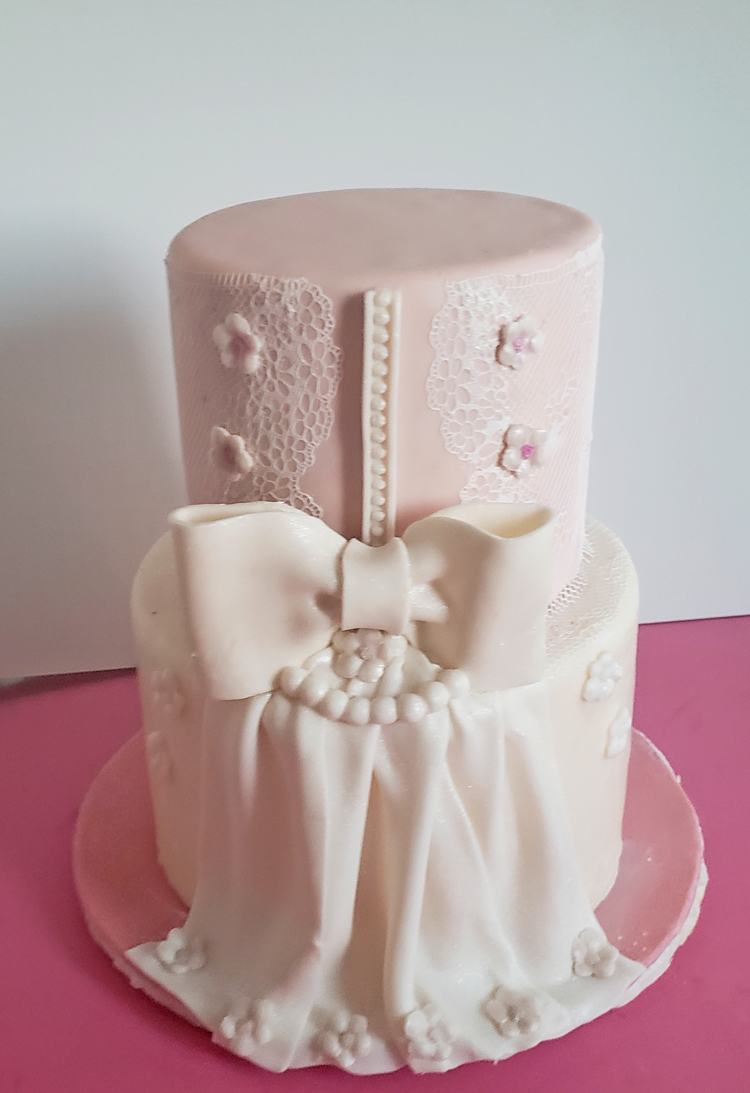
How to make a wedding cake part II
Wedding cakes are cake tiers stacked on each other (easier said than done right). If you are a bit nervous about making tiered cakes I have a post all about that here. For this project, the cakes are baked, frosted and covered with fondant.
I struggled with getting the design the way I envisioned them. I’m not a perfectionist by any means. But, I scratched a few techniques that I thought would absolutely work and match the design. I tried royal icing all around and didn’t like the look (sad face). Then, I thought about hand-painting the flowers, but, I absolutely wanted the look of lace just like the back of a wedding gown. So, I opted to go with edible lace. Because it is timeless, beautiful and so flexible to work with.
Of course, if I had made a plain white cake and added sugar flowers I would have been done already. But what’s the fun in that right?
How to make edible cake lace?
So… this week we are making some edible lace. A few things about edible lace, I prefer to use Clair Bowman’s cake lace. Sure, it’s a little expensive, but, it works every time. Sugarveil edible lace does not work very well. I tried it did not work. To give it the benefit of doubt, I even waited for a few days after placing it in the oven and it did not work. So what about making your own, you can, I have made edible lace, but the recipe needs some tweeting as it was a bit brittle. Once, I have perfected the homemade recipe I will share with you.

This page may contain affiliate links which mean that I may earn a small commission if you make a purchase from any links directed from this website. I only recommend things that I use and the classes I have taken. Thank you very much for your ongoing support.

Steps for making edible cake lace
- Mix the cake lace following the instruction on the container, mix part a with part b.

- Add to the cake lace to the mat. I used Sugarveil flowers net lace mat. It is a large mat that has a lot of fine details. Absolutely love it.
- Spread the cake lace with a spatula or cake scraper. The cake lace needs to get into every area of the mat.
- Let it sit overnight or place it in the oven at the lowest setting for a few minutes.
- When it is dry you are able to pull it away from the mat. Be very careful here, test a small section first.
- Once it is dry, place the mat facing down and begin removing the lace.
- Slowly move across the mat until the entire thing is removed.


How to add the cake lace to the cake
- Roll out some white fondant into a piece of sausage then place on the top section of the Wilton Baroque mold. Add to the center of the top tier.
- Measure the height of the cake. Then measure where on the lace to cut.
- Add some shortening to the side of the cake, then add the lace. Use a Xacto knife to cut away some of the lace.
- Then cut the bottom part of the lace and lay it over the edge of the lace.


That’s it easy peasy right. Tune in next time for part III putting the cake together.
Related Posts

How to make a wedding cake part III: how to make an easy fondant bow
I am finally getting to part III of how to make a wedding cake series.
August 9, 2019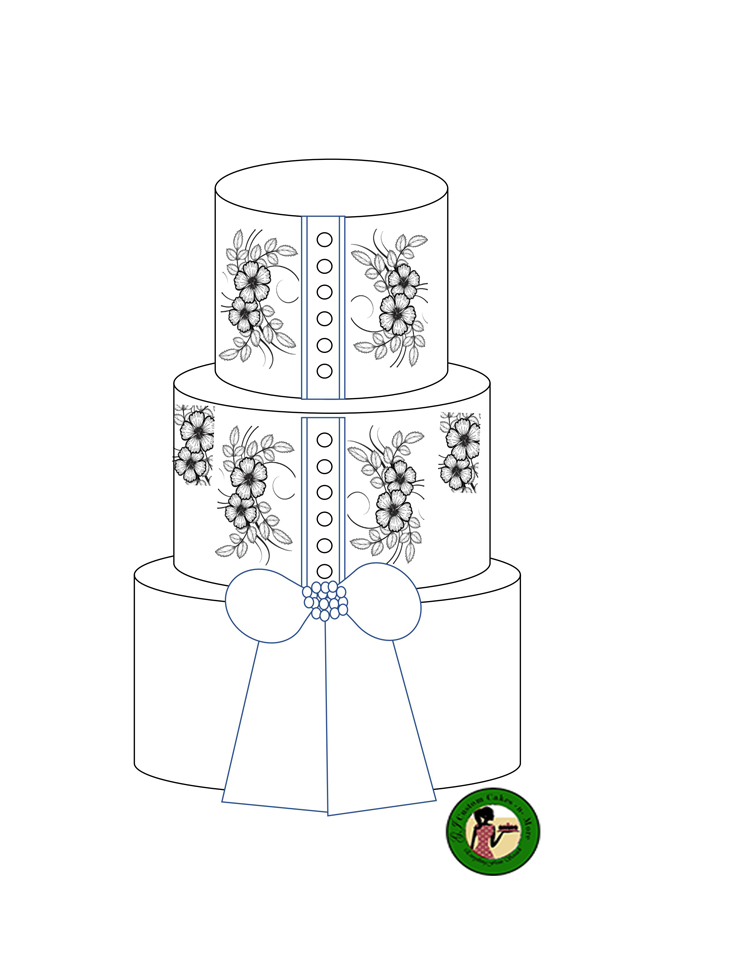
How to make a Wedding Cake Part I: Sketching the cake
In this three-part series, we are tackling wedding cakes. I am super excited about this
June 14, 2019